Seasoning Your Cast Iron Over the Fire
We use the daylights out of cast iron, on the open fire, over propane burners and in the house. Food just seems to taste better, and they are obviously durable enough to hold up to the open flames and fire. Cast iron cookware is a staple for us when cooking, known for its durability and versatility. However, to make sure it’s protected and cooks at its best, proper seasoning is essential. One traditional and effective method is seasoning your cast iron over the fire. Here’s a step-by-step guide on how to do it right. Quick side note, if your pan needs full seasoning or it is new, it may be best to bake it in the oven. This is a re-season cause I was forgetful.
Why Seasoning is Important
Seasoning your cast iron creates a non-stick surface that not only improves your cooking experience but also protects your pan from rust. The process involves coating the pan with oil and heating it and re-heating it to create a hard, protective layer.
Step 1: Clean Your Cast Iron
Before seasoning, make sure your cast iron pan is clean. Remove any food residue or rust. If maybe you didn’t give a pan the love she deserved… like when I left my poor girl outside and she rusted, you’re gonna need some elbow grease. I use a chainmail sponge (which is great for everyday dishwashing your cast iron), a Lodge Rust Eraser, and since I know I am going to be re-seasoning when done a little Dawn Dish Soap.
Step 2: Apply Oil
Now that my pan is clean, I am going to apply a thin layer of oil to the entire surface, including the handle. In the video I am using Blackstone’s Cast Iron Conditioner, but you can use vegetable oil, flaxseed oil, or lard. Make sure to spread the oil evenly. I am only doing the cooking surface and handle in this example as that is where my rust was.
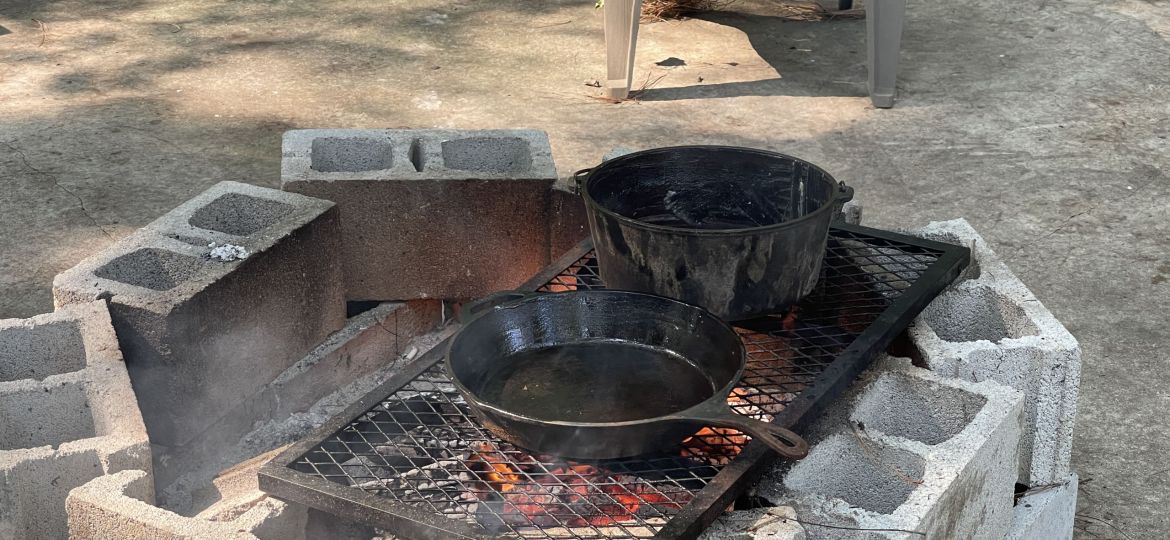
Step 3: Heat Over the Fire
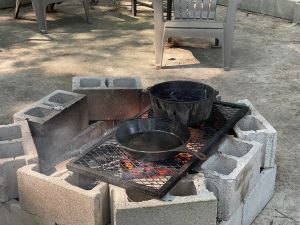
Now comes the fun part – heating your cast iron over an open fire. Some people do this right on the coals, but I find it easier on a cooking grate. Place the oiled pan on the fire, ensuring it’s evenly exposed to the heat. Allow the pan to heat up gradually. The oil will begin to smoke, which is a sign that the seasoning process is working. Once the smoke from the oil slows down, I reapply with tongs and a paper towel. I will do this up to three times if needed.
Step 4: Let it Cool
After seasoning the pan, carefully remove it from the fire and allow it to cool. As it cools, the oil will harden, creating that coveted non-stick surface I think that is called polymerization. If you are not happy with the consistency or just want a thinker layer repeat the oiling and heating process.
Step 5: Store Properly
Once your pan is seasoned, store it in a dry place to prevent rust. I have started hanging and stacking in my garage since I have run out of room in the kitchen. It’s not the best option due to the humidity, maybe I’ll get a rack built in the basement someday. Avoid washing it with soap after each use; instead, use the chainmail sponge and wipe it down with a paper towel or rinse it with hot water. If the non-stick surface begins to wear down, you can repeat the seasoning process.
Conclusion
Seasoning your cast iron over the fire is maybe not the most practical method but adds a touch of traditional feel or maybe just ups the cool factor in my mind. Either way it illustrates with the right care, your cast iron will take care of you and your family for generations.
Items List
Chainmail Sponge: https://amzn.to/4dSjD6r
Lodge Rust Eraser: https://amzn.to/4dUYGbg
Blackstone Cast Iron Conditioner: https://amzn.to/3yX4Icf
Lodge Cookware: https://amzn.to/3SXZRys